


SharePoint Client Integration interferes with the functioning of the Prizm DRM Redirector, causing a dialog to display before redirection and causing some file types to not be redirected. You can use one of the following options for turning SharePoint Client Integration off:
 Option 1 - Turn SharePoint Client Integration off for a site in which the Viewer will be used
Turn on Client Integration by default, but let it be turned off for the site in which the Viewer will be used. You can turn SharePoint Client Integration off for a site by following the steps below:
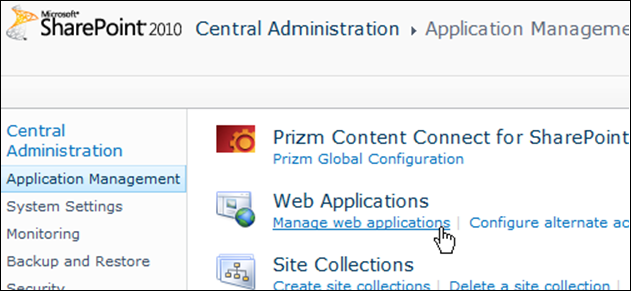
- Open SharePoint Central Administration.
- Go to the Application Management page and select Manage web applications, under the Web Applications section:
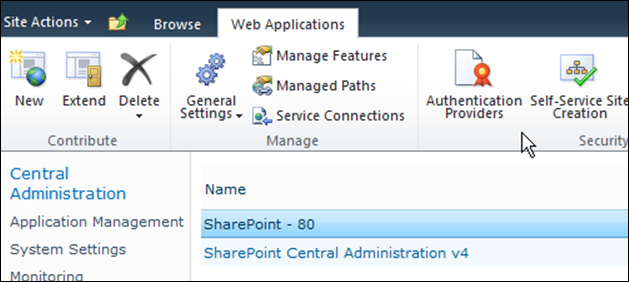
- Select the web application.
- Click Authentication Providers:
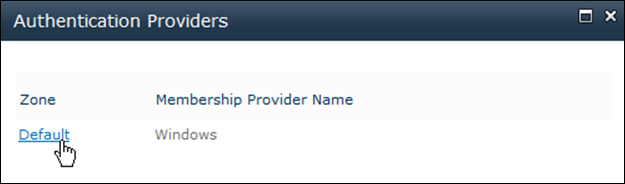
- The Authentication Providers dialog opens. Click the Zone where you want to modify authentication settings:
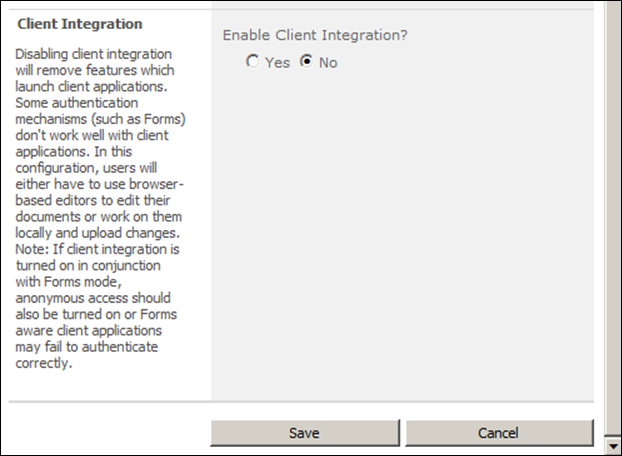
- The Edit Authentication page opens. Select No in the Client Integration section and then click Save.
Option 2 - Create a New Permission Set
Turn on Client integration by default, Create a New Permission Set with Client Integration Off and Assign that permission level set to the User Groups and Users. You can also alter an existing user group and disable Client Integration only for Users and User Groups with that Permission Level Set. Follow the steps below:
Create a new permission level set:
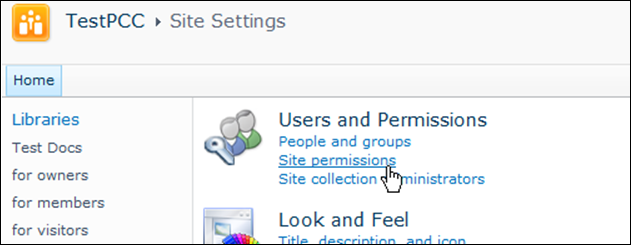
- Open the SharePoint site and browse to Site Permissions:
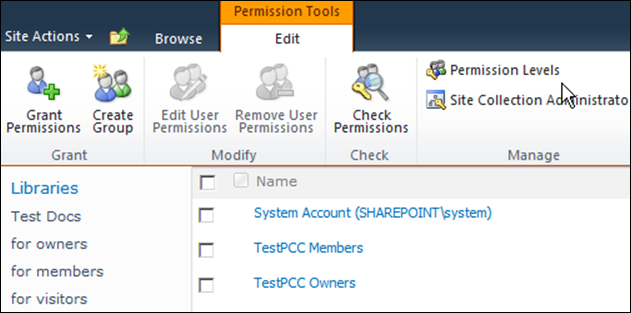
- Select Permission Levels:
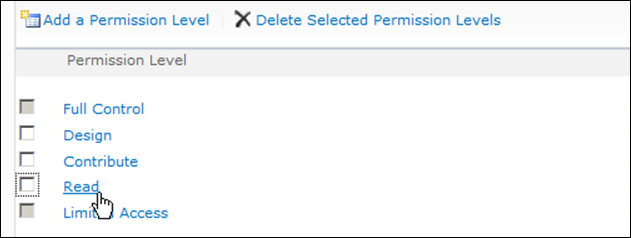
- Click on the Read permission level:
- Scroll down to Copy Permission Level:

- Give a Name, for example: “DocumentViewOnly”.
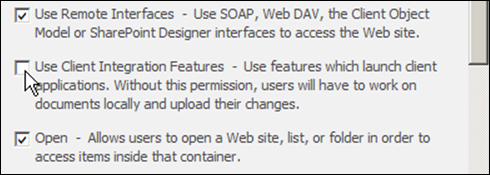
- Uncheck the Use Client Integration Features checkbox:
- Click Create.
Create a new user group:
- Browse to Site Permissions and select Create Group:
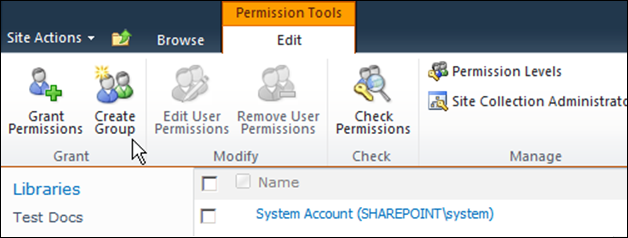
- Enter the name of a group, for example: “Document View Group”.
- Scroll down and choose the permission level group you created in the steps above (for example, “DocumentViewOnly”).
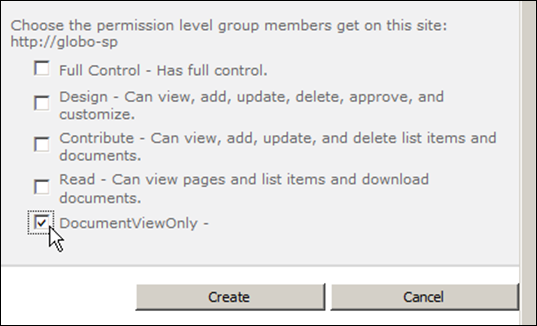
- Click Create.
- Now you can add users/members to this group and assign Prizm permissions for the group. Open the SharePoint site and configure permissions for the group as described in the Configuring Permissions topic.